Welcome! This manual guides you through using your new Lil’ Sew & Sew machine, unlocking a world of creative sewing possibilities with ease and joy.
Welcome to Lil’ Sew & Sew!
Congratulations on joining the Lil’ Sew & Sew family! We are thrilled you’ve chosen our compact and user-friendly sewing machine to embark on your creative journey. Whether you’re a seasoned seamstress or a complete beginner, the Lil’ Sew & Sew is designed to inspire and empower you.
This isn’t just a machine; it’s a gateway to crafting beautiful garments, charming home décor, and personalized gifts. We believe everyone has a creative spark within, and our goal is to provide you with the tools and knowledge to ignite it.
Inside this manual, you’ll find detailed, step-by-step instructions, helpful illustrations, and practical tips to ensure a smooth and enjoyable sewing experience. Don’t be afraid to experiment, explore different techniques, and most importantly, have fun! We’re confident that the Lil’ Sew & Sew will quickly become your trusted companion in all your sewing adventures. Let’s get started!
What’s in the Box? ⎯ Component Checklist
Before you begin, please ensure you have all the components listed below. Carefully unpack the box and verify each item. If anything is missing or damaged, please contact our customer support team immediately – details are provided at the end of this manual.
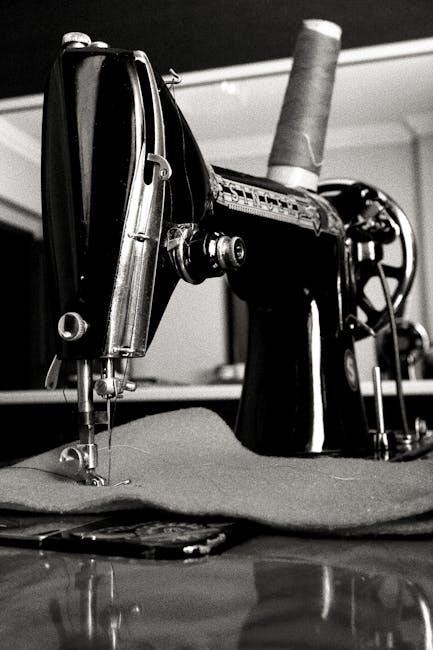
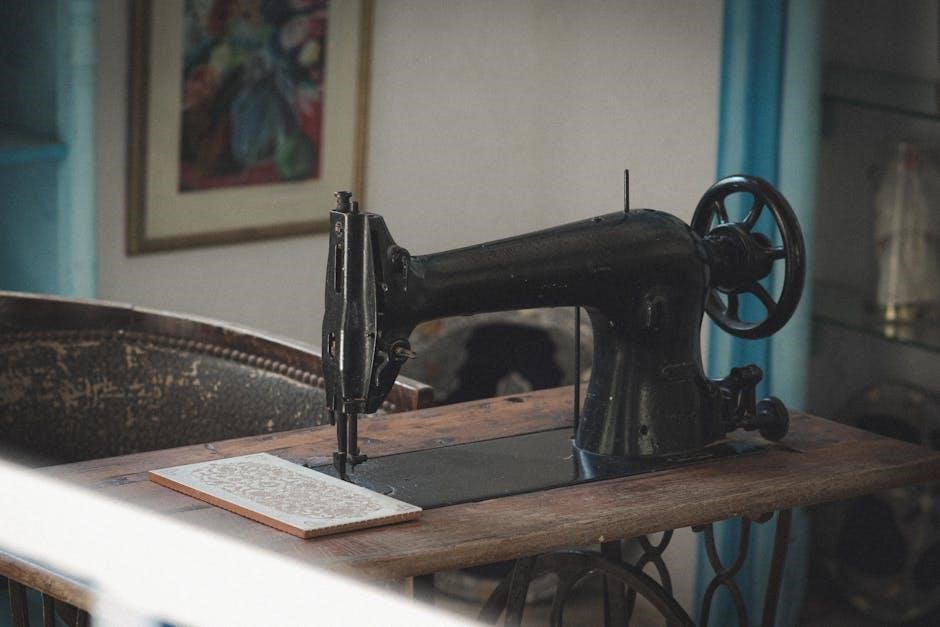
- Lil’ Sew & Sew Machine: The main sewing unit.
- Power Adapter: For powering the machine.
- Foot Pedal: Controls the sewing speed.
- Bobbin (x3): Pre-wound bobbins to get you started.
- Needles (x5): Assorted needles for various fabrics.
- Needle Threader: Assists with threading the needle.
- Seam Ripper: For correcting mistakes.
- Measuring Tape: For accurate measurements.
- Instruction Manual: You are reading it now!
Retain the original packaging for potential returns or warranty claims. We recommend keeping all small parts in a safe place to prevent loss. Happy sewing!
Getting Started: Machine Setup
Let’s begin! This section details the initial setup of your Lil’ Sew & Sew, preparing it for a fantastic sewing experience right away.
Powering On & Initial Checks
First steps to sewing success! Before you start your first project with the Lil’ Sew & Sew, ensure it’s properly powered on and functioning correctly. Locate the power switch, typically found on the side or back of the machine. Gently flip the switch to the ‘ON’ position.
You should hear a quiet hum indicating the machine is receiving power. If not, double-check the power cord is securely plugged into both the machine and a working electrical outlet. Never force the switch.
Next, perform a visual inspection. Confirm the handwheel turns smoothly without resistance. Briefly test the foot pedal – pressing it should cause the needle to move. Observe the needle; it should move up and down in a consistent, even motion. If you notice any unusual noises, jerky movements, or the needle doesn’t move at all, do not proceed. Refer to the ‘Maintenance & Troubleshooting’ section for assistance.
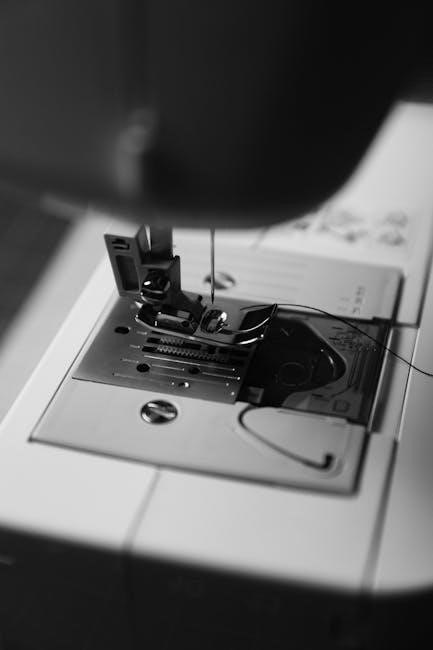
Finally, verify the bobbin area is clear of any obstructions before threading. A clean start ensures smooth operation!
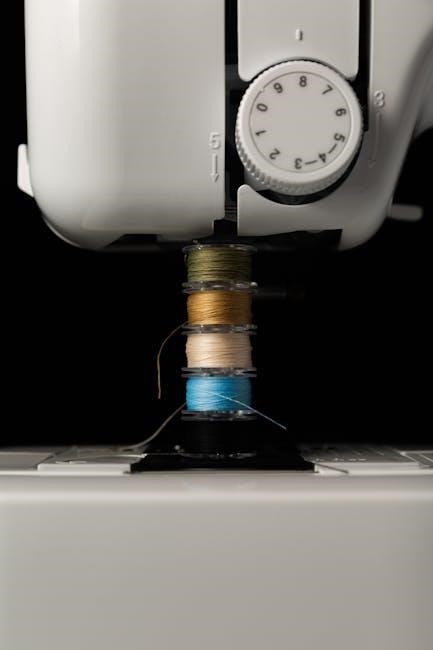
Bobbin Winding ー A Step-by-Step Guide
Preparing for seamless stitching! Properly wound bobbins are crucial for consistent stitch quality. Begin by placing your chosen thread spool onto the spool pin. Next, pass the thread through the thread guide, ensuring it’s securely seated. Then, thread the end of the thread through the tension disc – this controls the bobbin winding tension.
Now, insert the empty bobbin onto the bobbin winder spindle. Push the spindle to the right to engage it. Hold the thread tail firmly and gently press the foot pedal. The bobbin will begin to wind.
Monitor the winding process; the bobbin should wind evenly. Once the bobbin is full (or reaches your desired fill level), the bobbin winder will automatically stop. Cut the thread, and push the spindle back to the left to disengage it. Remove the wound bobbin and place it into the bobbin case, ready for threading. Important: Incorrect tension can cause issues, so refer to the troubleshooting section if needed.
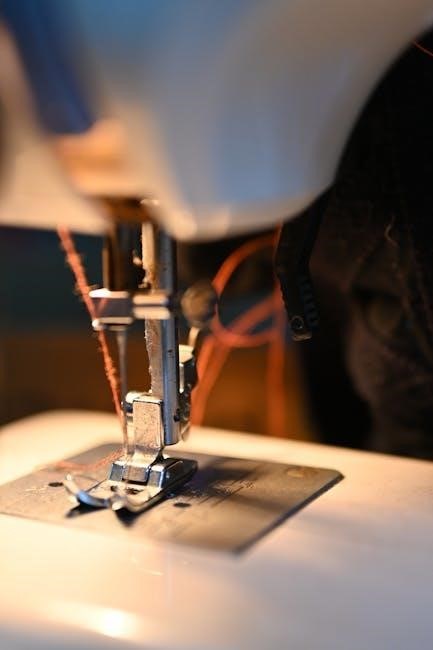
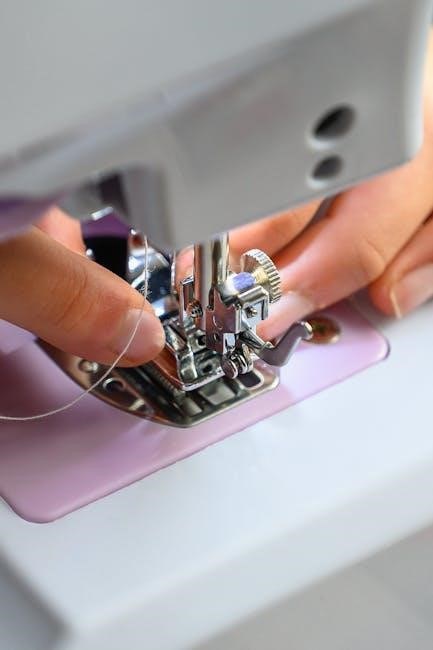
Threading the Needle ⎯ Illustrated Instructions
Precise threading ensures smooth operation! First, ensure the machine is powered off. Raise the presser foot – this opens the tension discs. Guide the thread from the spool, through the first thread guide, and then down and around the tension discs. Continue threading through the take-up lever, ensuring the thread is securely seated in the lever’s hook.
Next, thread the needle bar thread guide. Now comes the trickiest part: threading the needle! Use the needle threader (included) for ease, or carefully guide the thread through the eye of the needle. A well-lit area is helpful.
Finally, draw up enough thread (about 6 inches) through the needle. Then, insert the wound bobbin into the bobbin case, ensuring it clicks into place. Gently pull the needle thread to bring the bobbin thread up. Tip: If you struggle, re-check each step – a missed guide can cause frustration!

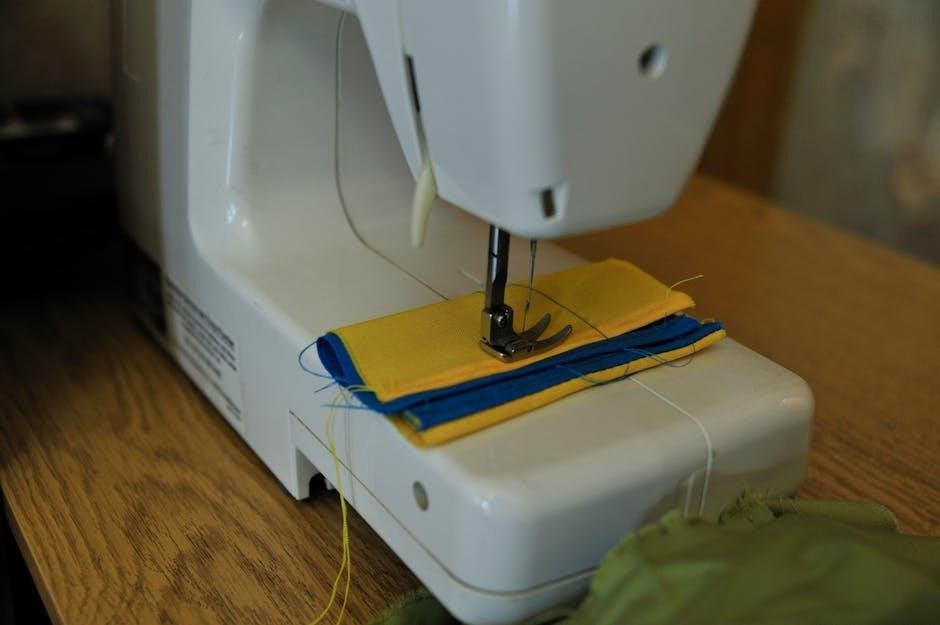
Basic Stitching Techniques
Let’s start sewing! Master these fundamental stitches – straight, zigzag, and backstitch – to build a solid foundation for all your sewing projects.
Straight Stitch ー Mastering the Foundation
The straight stitch is the most basic, yet essential, stitch in sewing. It’s the workhorse for seams, topstitching, and basting. To begin, ensure your machine is correctly threaded and bobbin is wound, as detailed in previous sections.
Select the straight stitch setting on your Lil’ Sew & Sew – typically indicated by a straight line on the stitch selector dial. A stitch length of 2.5mm is a good starting point for most woven fabrics.
Place your fabric under the presser foot, aligning the edge with the desired seam allowance guide on the needle plate. Gently lower the presser foot. Begin sewing slowly, guiding the fabric with both hands – don’t push or pull!
Maintain a consistent speed and keep the edge of the fabric aligned with your chosen guide. Practice sewing straight lines on scrap fabric before tackling your project. Remember to backstitch at the beginning and end of each seam to secure the stitches – we’ll cover that in detail later!
Zigzag Stitch ⎯ For Flexibility & Finishing
The zigzag stitch offers versatility beyond a simple seam. It’s perfect for finishing raw edges to prevent fraying, creating decorative effects, and sewing stretchy fabrics. On your Lil’ Sew & Sew, select the zigzag stitch setting – usually represented by a zigzag pattern on the stitch selector.
Adjust both the stitch length and width. A shorter length (1.5-2.0mm) and narrow width (1.0-2.0mm) are ideal for edge finishing. For decorative stitching, experiment with wider widths and longer lengths.
Practice on scrap fabric first! Guide the fabric gently under the presser foot, allowing the machine to do the work. When finishing edges, position the fabric so the zigzag stitch catches both the fabric edge and a small portion of the seam allowance.
For stretchy fabrics, a slightly wider zigzag allows the seam to stretch with the material. Remember to test your settings to achieve the desired look and functionality.
Backstitch ⎯ Reinforcing Seams
Backstitching is crucial for securing the beginning and end of seams, preventing unraveling under stress. On your Lil’ Sew & Sew, engage the backstitch function – typically a lever or button on the machine. To backstitch, sew a few stitches forward, then use the reverse function to sew backwards over those stitches.
Repeat this process at the beginning of each seam. As you reach the end of the seam, backstitch again for approximately 1/2 inch to lock the threads. This creates a strong, durable finish.
Avoid excessively long backstitches, as they can create bulk. Short, overlapping backstitches are most effective. Regularly check your backstitching to ensure it’s secure and doesn’t disrupt the overall seam appearance.
For areas requiring extra reinforcement, like stress points on garments, consider increasing the backstitch length slightly. Practice on scrap fabric to master the technique and achieve consistently strong seams.
Advanced Techniques & Features
Explore further! This section details adjusting stitch parameters, utilizing the reverse function, and mastering the intricacies of the buttonhole stitch feature.
Adjusting Stitch Length & Width
Precision is key! The Lil’ Sew & Sew allows for customized stitch creation through adjustable length and width settings. Located on the front panel, you’ll find two dials clearly marked with numerical scales; The stitch length dial controls how far the needle travels with each stitch – shorter lengths create denser, more secure seams, ideal for delicate fabrics or reinforcing stress points. Longer lengths are suitable for basting or gathering.
The stitch width dial, conversely, determines how wide the stitch is. For a standard straight stitch, keep the width dial at its minimum setting. Increasing the width creates a zigzag stitch, offering flexibility for finishing raw edges, sewing stretch fabrics, or decorative applications. Experiment with different combinations to achieve your desired look and functionality!
Remember: Always test your stitch settings on a scrap piece of fabric before beginning your project. This ensures optimal results and prevents potential issues with your final creation. Refer to the diagram on page 15 for a visual guide to the dial settings.
Using the Reverse Stitch Function
Secure your seams! The reverse stitch function is crucial for reinforcing the beginning and end of each seam, preventing unraveling and ensuring durability. On your Lil’ Sew & Sew, the reverse stitch lever is conveniently located near the handwheel. Simply push the lever down before you begin sewing, and the machine will automatically stitch backwards.
Typically, 2-3 reverse stitches are sufficient for securing a seam. After reinforcing, release the lever to return to forward stitching. Pro Tip: Use the reverse function intermittently throughout longer seams for added strength, especially when working with fabrics prone to fraying. This creates a more robust and professional finish.
Caution: Avoid excessive reverse stitching, as it can cause puckering or strain on the fabric. Practice on scrap material to find the optimal balance between security and aesthetic appeal. The diagram on page 18 illustrates the correct lever operation.
Buttonhole Stitch ー A Detailed Walkthrough
Creating professional buttonholes! Your Lil’ Sew & Sew features a dedicated buttonhole stitch setting, simplifying this often-challenging task. First, attach the buttonhole foot (foot #5) to the machine. Select the buttonhole stitch on the stitch selector dial. Place your fabric under the presser foot, aligning the buttonhole placement mark with the guide on the foot.
Slowly lower and raise the presser foot several times without pressing the foot pedal; this establishes the buttonhole length. The machine will automatically stitch around the buttonhole shape. Once complete, lift the presser foot and carefully cut open the buttonhole using the seam ripper (avoiding the stitches!).
Important: Always test the buttonhole size with a sample button before sewing on your final garment. Refer to the detailed diagram on page 22 for visual guidance. Practice makes perfect – don’t be discouraged if your first attempt isn’t flawless!
Fabric & Material Guide
Explore your creativity! Lil’ Sew & Sew handles various fabrics beautifully, from lightweight cotton to denim, expanding your project possibilities immensely and easily.
Suitable Fabrics for Lil’ Sew & Sew
Lil’ Sew & Sew truly shines when working with a diverse range of fabrics! For beginners, lightweight woven cottons like quilting cotton and broadcloth are excellent choices, offering stability and ease of handling. These are perfect for practicing straight stitches and simple projects like pillowcases or tote bags.
Moving beyond basics, you’ll find Lil’ Sew & Sew performs admirably with medium-weight fabrics such as linen, flannel, and lightweight denim. These materials open doors to crafting garments, home décor items, and more durable accessories.
Don’t shy away from exploring knit fabrics either! Lightweight jersey knits and stable interlock knits are manageable with careful technique, allowing you to create comfortable t-shirts and stretchy accessories. Remember to use a ballpoint needle when sewing knits to prevent skipped stitches. Finally, felt and fleece are fantastic for quick and easy crafts, providing a soft and forgiving texture.
Fabrics to Avoid & Why
While Lil’ Sew & Sew is versatile, some fabrics pose challenges and are best avoided, especially for beginners. Extremely thick materials like heavy leather, vinyl, or multiple layers of denim can strain the motor and potentially damage the machine. These require industrial-strength equipment.
Delicate or highly specialized fabrics also present difficulties. Sheer chiffons and silks are prone to puckering and snagging, demanding advanced sewing skills and specialized needles. Similarly, fabrics with significant stretch, like very thin spandex, can be difficult to control and may cause skipped stitches.
Avoid fabrics with excessive embellishments like sequins, beads, or heavy embroidery, as these can dull or break the needle. Finally, sticky or coated fabrics can leave residue on the machine parts, hindering performance. Prioritizing appropriate fabrics ensures a smoother, more enjoyable sewing experience with your Lil’ Sew & Sew!
Maintenance & Troubleshooting
Keep your Lil’ Sew & Sew running smoothly! Regular cleaning and addressing minor issues promptly will ensure years of reliable, creative sewing enjoyment.
Cleaning Your Lil’ Sew & Sew
Regular cleaning is vital for maintaining your Lil’ Sew & Sew’s performance and longevity. Before you begin, always unplug the machine from the power outlet! Use a soft brush – the one included is perfect – to remove lint and dust from the bobbin area, feed dogs, and around the needle plate.
For tougher buildup, a slightly dampened (not wet!) cloth can be used. Never use water or solvents directly on the machine. Pay close attention to the areas where thread frequently passes, as these accumulate the most debris.
Occasionally, you can use a small vacuum attachment to gently remove lint from hard-to-reach places. Avoid using compressed air, as it can blow dust further into the machine; After cleaning, lightly oil the key moving parts, following the lubrication guide in the full manual; A clean machine sews better and lasts longer – a small effort for significant rewards!
Common Issues & Solutions
Thread bunching? Re-thread the machine, ensuring the presser foot is up. Incorrect threading is the most frequent cause. Needle breaking? Use the correct needle type for your fabric and ensure it’s properly inserted. A bent or dull needle also causes breaks.
Skipped stitches? Check the needle, thread tension, and ensure the bobbin is wound correctly. Try a new needle. Machine jamming? Power off immediately! Carefully remove the fabric and check for tangled thread or fabric caught within the mechanism.
Uneven stitching? Adjust the thread tension dial. Test on scrap fabric before sewing your project. If problems persist, consult the full manual or our online support resources. Remember to always unplug the machine before attempting any internal adjustments or repairs.
Needle Replacement ー Ensuring Optimal Performance
Why replace your needle? A dull or damaged needle can cause skipped stitches, fabric puckering, and even break your thread. Regular replacement (after every 8 hours of use, or sooner if damaged) ensures consistently high-quality stitching.
How to replace: First, power off and unplug the machine. Locate the needle screw (refer to the ‘Powering On & Initial Checks’ section for location). Loosen the screw with the provided screwdriver and gently remove the old needle.
Insert the new needle, ensuring the flat side faces the back of the machine. Tighten the screw firmly, but not excessively. Always use needles specifically designed for your Lil’ Sew & Sew model. Discard used needles safely – they are sharp! A fresh needle dramatically improves sewing performance.
Safety Precautions
Always unplug the machine before cleaning or changing parts. Keep fingers away from the needle. Never force the fabric; use caution at all times;
Important Safety Guidelines
Prioritize safety when operating your Lil’ Sew & Sew. Always disconnect the power cord from the electrical outlet before performing any maintenance, such as changing the needle, cleaning, or winding the bobbin. Never operate the machine with damaged parts.
Keep fingers and other body parts a safe distance from the needle during operation. Avoid reaching under the presser foot while the machine is running. Do not attempt to sew over pins or thick materials that could damage the needle or machine.
Ensure the machine is placed on a stable, level surface during use. Supervise children closely if they are observing or learning to use the machine. Never leave the machine unattended while it is plugged in. Regularly inspect the power cord for any signs of damage and replace it if necessary. Remember, responsible operation ensures a safe and enjoyable sewing experience!